


Vegan Aquafaba Whipped Cream
Who knew chickpea brine could turn into this fluffy, dreamy magic? This aquafaba whipped cream is light, airy, and ready to top everything from pies to hot cocoa. With just a few ingredients and a mixer, you’ll have a creamy vegan topping that’s almost too good to be true!
Servings: 4
Calories: 198kcal
Equipment
- Handheld Mixer or Stand Mixer
Ingredients
- Liquid brine drained from 2 cans of chickpeas
- ¼ heaping teaspoon of cream of tartar
- 2 teaspoons vanilla extract could could also add additional almond extract
- 1 cup white sugar finely ground
Instructions
- Drain the liquid from two cans of chickpeas into a large mixing bowl.
- Add cream of tartar to the aquafaba and mix it in briefly.
- Start whipping the mixture on medium-high speed using a stand mixer or handheld mixer. As it begins to foam, gradually add the vanilla and sugar, a little at a time, to help the aquafaba keep its structure.
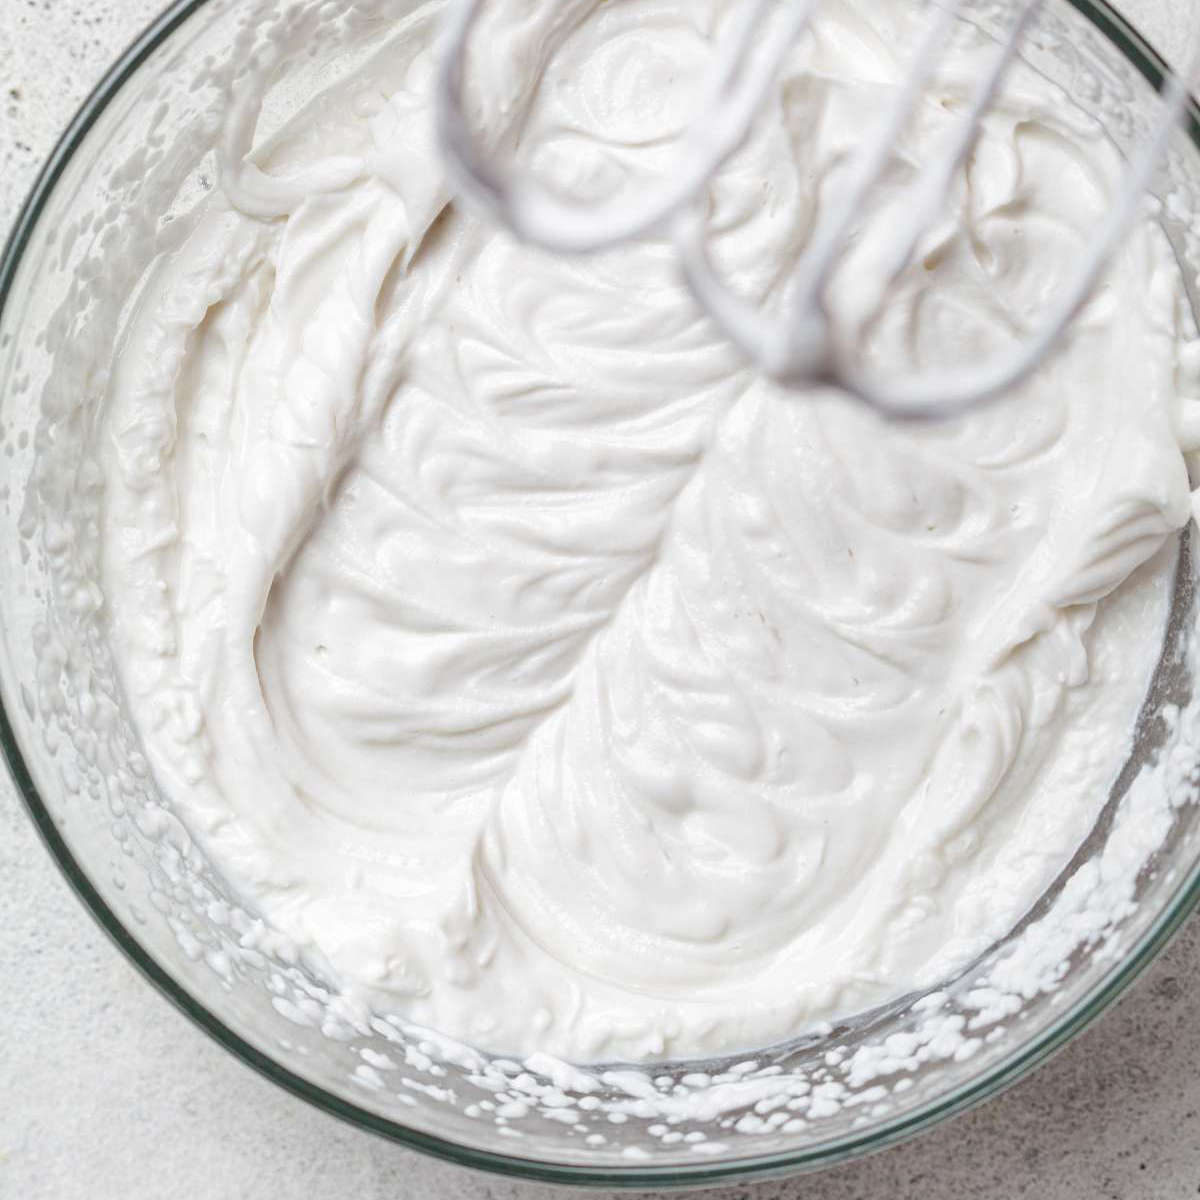
- Continue whipping for 10–15 minutes or until the mixture forms stiff peaks. You’ll know it’s ready when you lift the whisk, and those peaks stay standing and look beautifully glossy.
Video
Notes
- Go Halfsies – This recipe makes a big, fluffy batch, but you can easily halve it if you’re whipping for a smaller crowd.
- Best Fresh: Aquafaba whipped cream is fluffiest right after whipping. If possible, make it just before serving for the dreamiest texture!
- Short-Term Storage: Aquafaba whipped cream is best served fresh! If you need to store it, keep in mind that it may turn back to liquid in the fridge. Just give it a quick re-whip, and it’ll fluff right back up every time.
- Freeze for Later: Yep, you can freeze it! Spoon dollops onto a baking sheet, freeze until solid, then transfer to a freezer-safe container. They’ll keep for up to 3 months and are perfect for topping hot cocoa.
- No Single-Blade Blenders: Aquafaba needs serious air to whip up fluffy, so stick to a stand mixer or handheld mixer. An immersion blender just won’t cut it.
- Adjust Sweetness: Prefer a lighter or richer taste? Adjust the sugar to your liking while you whip—just add it gradually to keep that perfect fluff.
Nutrition
Calories: 198kcal | Carbohydrates: 50g | Fat: 0.2g | Sodium: 1mg | Potassium: 14mg | Sugar: 50g | Calcium: 1mg | Iron: 0.03mg